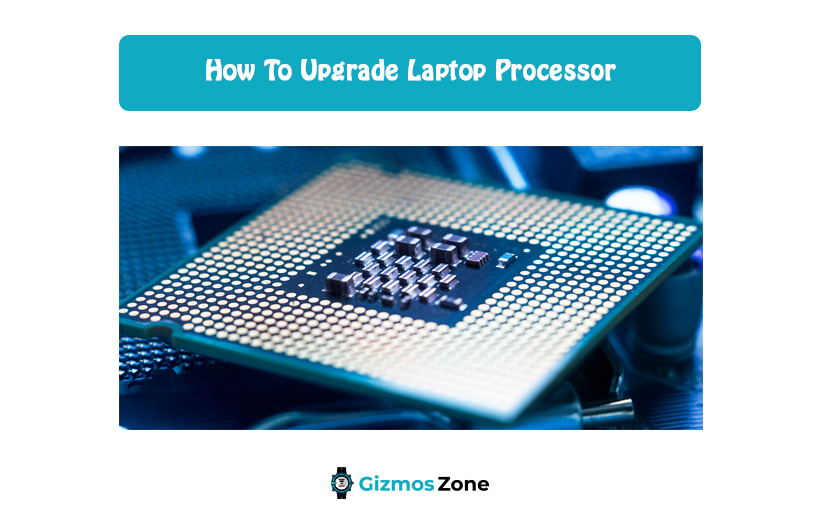
Are you consistently complaining about the lagging performance of your laptop? If the browser is hanging up and freezing in the middle of a search or if you aren’t able to open an application without the display freezing, chances are that your laptop processor needs an upgrade.
Not only does an upgrade minimize the glitches, but it also streamlines the performance and elevates the overall user experience.
However, if you aren’t a tech-savvy person and don’t know how to upgrade the laptop processor in 2023, this article should answer all your questions.
How to find the best and compatible laptop processor upgrade to your device?
If you are confused about how to find yourself the best laptop processor for the upgrade, here’s what you need to be mindful of:
- Start by scanning through the laptop’s service manual to check the processors that are compatible with your laptop.
- If you have misplaced the service manual, Google your laptop’s model number to find out the list of compatible processors it has been sold with.
- Check out the official manufacturer’s website to check the compatible processors that you can upgrade your processor to.
How to upgrade the laptop processor in 2023?
Once you have sorted out the processors that are compatible with your laptop, the next thing you need to follow the steps accordingly.
Update the BIOS
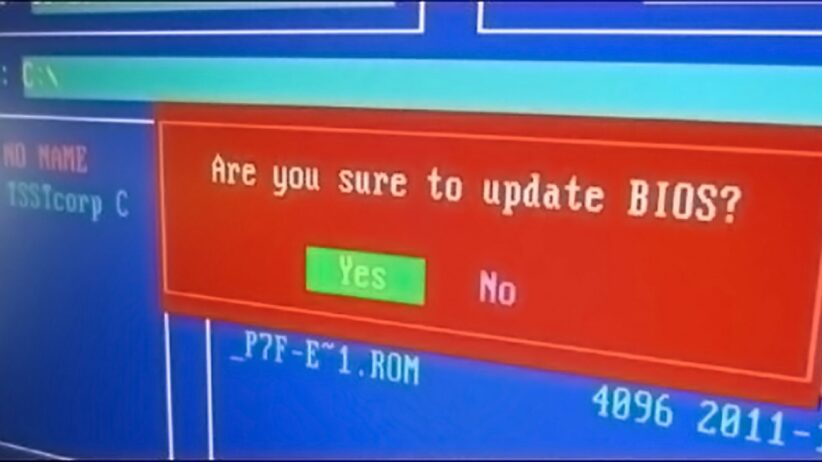
The first step in the process is to update the BIOS. Most of the times, these updates are published by the manufacturer to help accommodate new processors in the device.
The reason why updating the BIOS is necessary is because if you end up installing the latest chipset and the BIOS isn’t compatible, your laptop wouldn’t even start. If you aren’t sure about the BIOS update, you can check the same on your manufacturer’s support section on their official website.
Take out the battery
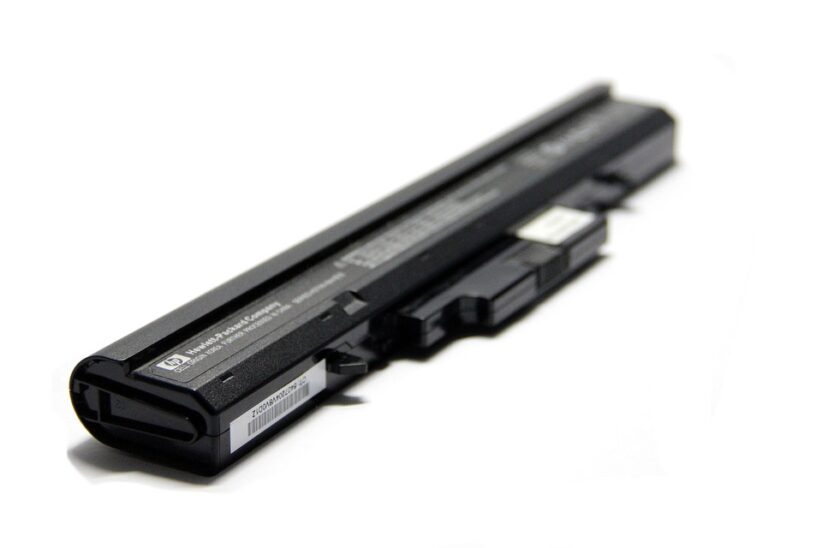
With the BIOS update, you can then move ahead into dismantling the laptop. Start with the laptop battery first. Removing the battery manually is pretty simple and will vary for model laptops. You should be able to know the process in the user manual. So, in case you don’t know how to do it, refer to the manual for the instructions.
If the laptop comes with a detachable battery, remove it in the beginning. However, if the laptop comes with an in-built battery, you can remove it later.
Remove the back cover
With the battery out of the way, it is time to delve deeper into the internals of the device. Take screwdrivers and open the screws on the bottom to remove the back cover in one piece. Sometimes, the processor is located right underneath the back cover, making it easier to access and upgrade.
In case your laptop has the processor placed discretely, you might have to dig deeper into the internals. Also, in some laptops, the screws of the back and the upper cover are located under the rubber grip, so open it accordingly.
Remove the keyboard

Following the back panel, you again have to come back to the top of the laptop and remove the keyboard next. Removing the keyboard can be a little challenging. So, if you don’t have proper knowledge, get it done by someone who knows what they are doing. Any kind of rough house around the keyboard can damage it beyond repair.
After taking out the screws, you also need to gently remove the DVD writer and the wireless adapter one by one.
Get rid of the Upper Shell
Once you have removed the keyboard, you will notice ribbons and a connector underneath it. You need to remove them as well. Besides them, you should find some screws underneath the keyboard. Take them out to gently remove the upper shell without being too harsh.
Being gradual with the process is important because the upper shell is sometimes attached to cables and connectors underneath which you don’t want to tear off.
Work on the Display Assembly
This is a step that is often done before removing the upper shell. However, if you can’t point the display hinges after removing the keyboard, you need to do this after you have removed the upper shell.
To remove the display, you need to unhinge the attached screws, and then unplug the attached cables to put aside the entire display assembly in one piece on the side.
Focus on the Heatsink
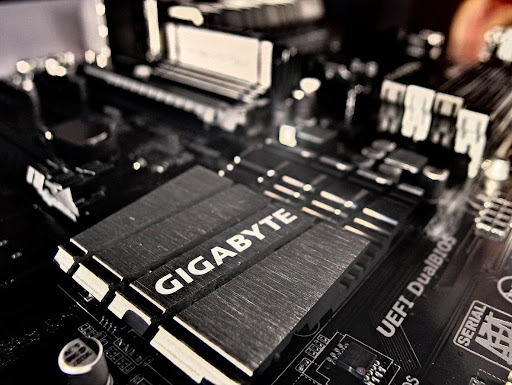
After the display, you need to then move on to the heatsink. Sometimes, the heatsink comes in the way of the processor, so you must remove them first before you consider changing the processor.
If you can’t see the motherboard even after removing the heatsink, you might have to consider taking part of the motherboard away as well. However, this is required in very few laptops and you should be able to access the processor straight away.
Replace the CPU
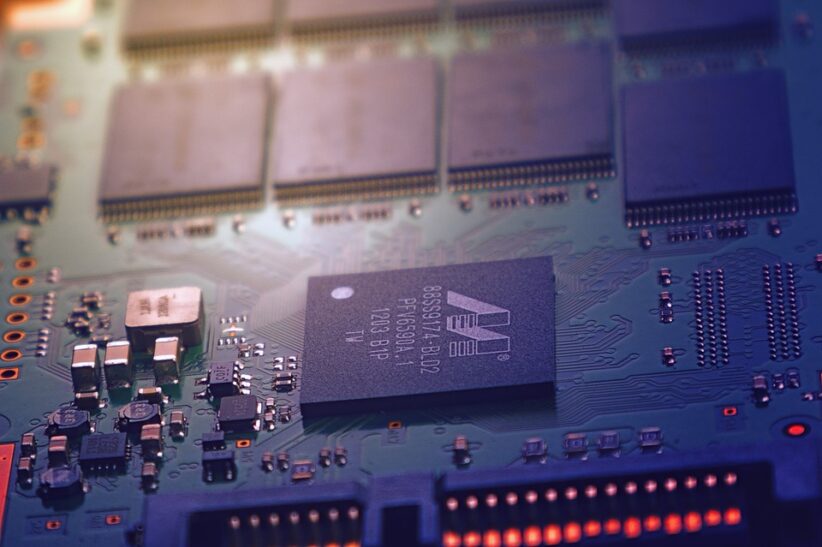
Once you have done everything above, you should be able to access the processor straight away. Once you spot the CPU, turn the socket’s screw in the anticlockwise direction and then lift the processor with gentle hands. Once you have removed it, place the new upgraded CPU and place it in the correct alignment.
Make sure you again turn the screw in the right way to ensure that the socket is closed shut and the CPU is in place.
Once everything is done, it is time for you to put everything together. Reassembling is a little tough, especially for individuals with no former knowledge about the device and the processor. Make sure you put the thermal paste in the right spots and put the heat sink back in place and then reassemble everything back in place.
Once your laptop is booting up, you need to check the BIOS and see if the device has recognized the new processor yet or not. If it’s done, launch your Windows OS and your device should start functioning like normal as it did before. The process of upgrading the CPU isn’t as daunting as many make it out to be. All you need to do is follow the steps as mentioned.
Contents
