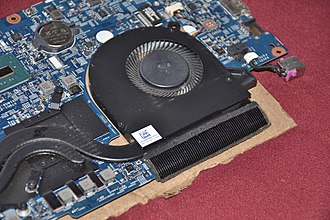
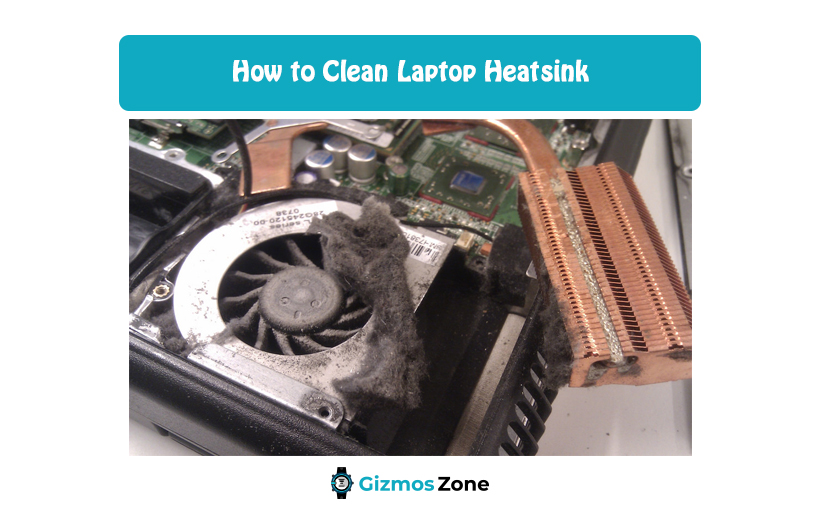
One of the early symptoms of a laptop that has not been cleaned in a long time is a malfunctioning fan or cooling unit. Dust and dirt clog the fan blades, which might make their operation noisy. If the laptop heats up excessively or shuts down randomly without prior notice, then it has to be understood that the fan or the heatsink is not working properly. A heatsink makes use of pipes to draw the heat from the laptop components and then drives it to the heatsink, which is then cooled by the fan. An overheating laptop indicates that there can be the following occurrences:

- The laptop has not been cleaned for a long time.
- The heat produced by the processor is not being properly dissipated.
- The laptop monitoring utilities warn of high temperatures.
Some of the popular CPU temperature measuring software can be SpeedFan, Real Temp, and Core Temp. Sometimes it can be an application or software that uses most of the CPU memory to run, slowing its performance and leading to overheating of the laptop components. However, it is always wiser to clean the heatsink for better diagnosis. Therefore, if you are planning to clean the heatsink of the laptop, then go through this article.
Steps to clean the laptop heatsink
Typically, the heatsink fins are blown with compressed air or treated with a handheld vacuum to suck the dust and dirt out of the unit. However, what we do not realize is that these methods might not work if there is medium-sized debris. In case the dirt that has accumulated in the heatsink or the fan mixes with humidity, then blowing the heatsink with compressed air can push the dirt particles further inside the laptop.

Moreover, using a handheld vacuum to suck the dust out might not be much effective too. One of the best-known ways is to clean the laptop thoroughly by opening it up. This will let you have a clear view of the internal components and let you clean them with much ease. Follow the below-given steps to clean the heatsink of the laptop from the dust and dirt.

- The metal or plastic fiber base panel at the bottom of the laptop that gives access to the laptop fan and heatsink has to be unscrewed and opened.
- Once removed, check for dust on the board.
- Check for dust and dirt on the processor fan.
- In both cases, you can use a can of compressed air to blow the dust. You can also use a handheld vacuum to suck the dust and dirt out.
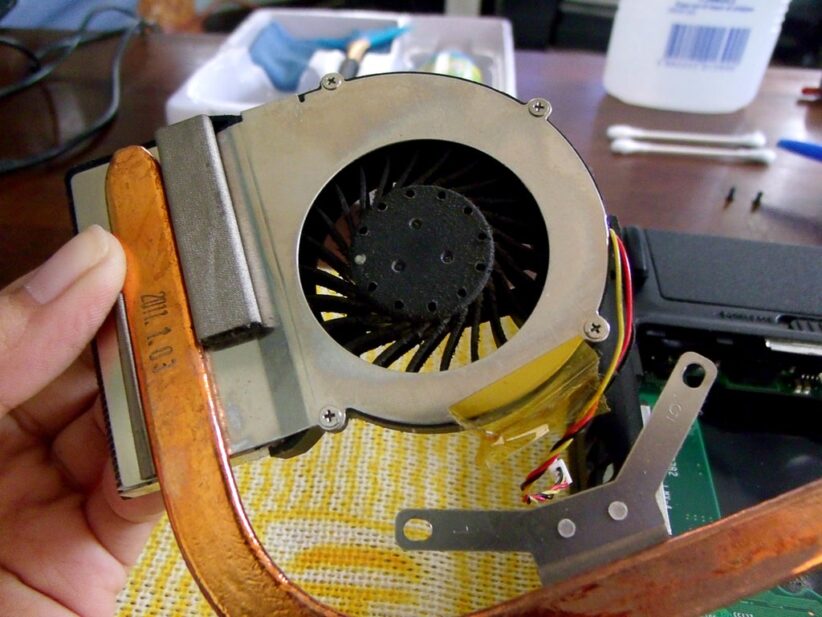
- For more thorough and effective cleaning, it is recommended to open the fan up.
- You will be able to find the copper and aluminum heat sink fins inside it.
- User must take note of the fact here that it is essential to clean the heat sink fins as most of the dirt and other pollutants accumulates here.
- The aluminum or the copper fins transports the hot air and can contain a lot of pollutants.
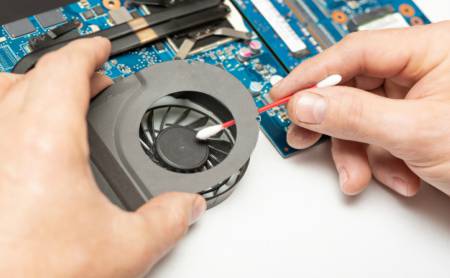
- Apart from making use of compressed air and handheld vacuum, it is also crucial to brush the clogged dirt out of the aluminum fins.
- Aerosol sprays and isopropyl alcohol solutions can come in handy while cleaning the tough blotches of dirt on the aluminum fins.
- Isopropyl alcohol solution is a much-preferred solution than the rest. This is because it is non-toxic and evaporates more quickly than any other cleaning solution. Moreover, it leaves no oil or residue on the substrate.
Precautionary pointers to keep in mind while cleaning the laptop heat sink
While cleaning the heatsink, you should not only be focused on the dismantling and the reassembly of the laptop unit but also the choice of the right materials to clean the unit. This means that if the wrong cleaning materials are chosen then it can damage the inner components of the laptop making the unit impossible to repair. Some of the popular cleaning materials that are used are an air blower, can of compressed air, handheld vacuum, and brush. Let us look into some of the further precautionary pointers.
- The vacuum cleaner can be used for sucking the dust out of the laptop unit. It should not be used as a blower because that might damage the laptop.
- Ensure that the battery of the laptop is removed and the power cable is disconnected from the unit before starting the cleaning process.
- It is a well-known fact that vacuum cleaners can result in the generation of static electricity around the unit. However, despite such a happening technicians have used it to clean the heatsink. You have to be extremely careful so that some component of the motherboard is not sucked out while using the vacuum cleaner.
- While using a can of compressed air disconnect the fan from the motherboard as the blower can generate fan speed, which might transform the fan into a power generator.
- While using compressed air, it is also recommended to blow the air in quick short bursts. This is because long presses of air might release liquid into the laptop interiors that require time to dry up. If you try to switch on the laptop too soon, it might lead to a short circuit.
- Switch on the laptop after quite some time after using a can of compressed air.
FAQs
Can water be used to clean the fan or heatsink?
No, water cannot be used to clean the fan or the heatsink. If the laptop is switched on with water inside it, then it might damage the laptop severely.
What kind of air compressors is the best?
If you are planning to buy air compressors, then go for airbrush models because they do not leave an oil residue.
Conclusion
These steps have to be followed while cleaning the heatsink of the laptop. It is crucial to remember that opening the laptop and dismantling the parts might violate the warranty policy of the unit. Therefore, it is always recommended to contact the seller or the manufacturer before making any decision in regards to opening the laptop up for cleaning purposes.
Contents
