Slow performance in a laptop can be due to various reasons. From poor processor performance to the integrated hard disc drive, the reasons are quite diverse. However, this is where you need to step up your game.
Instead of sticking around to your poor-quality HDD in your laptop, you need to upgrade to the better choice – the Solid State Drive or SSD. Not only does it have superior functions, but it also ensures immaculate faster performance that you won’t have to regret indulging in.
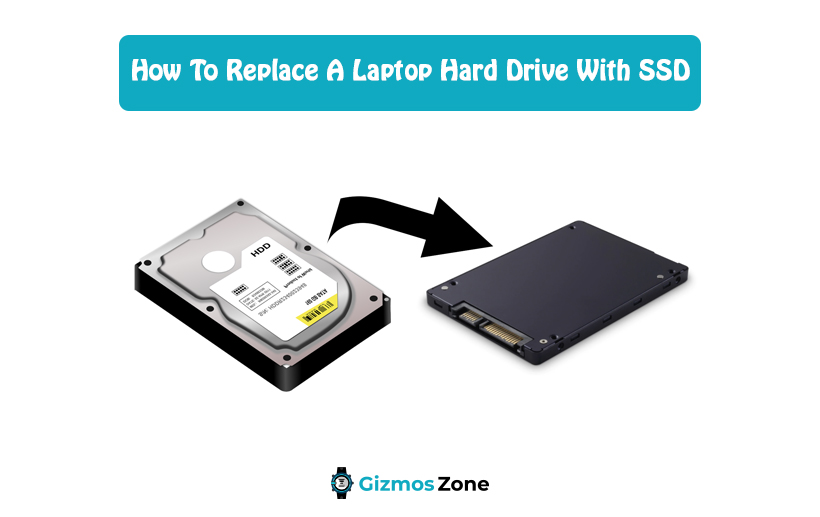
In this article, we will share the steps involved in replacing a laptop’s hard drive with SSD to boost the overall system performance.
Why should you upgrade to an SSD?

The most common reasons why SSD trump the standard hard drive are:
- Ensures faster bootup with reduced loading times
- Ensures better data protection
- Installation is quite easy
What do you need to keep in mind before upgrading to SSD?
If this is your first time conducting the HDD to SSD upgrade, there are a few important reminders that you need to keep in mind. Some of them are:
- Make sure you know the warranty details and technicalities behind the device and are ready to face the consequences in case something happens.
- Check the service manual of the device before you start working
- Check the BIOS settings and update them to the latest version to support the SSD compatibility
How to clone the Data from HDD to SSD?
If you are switching your hard drive to SSD to uplift and improve the system performance, it is a given that you won’t want any kinds of issues with the data getting lost in the process. For this, you need to clone all the data from the hard drive to the SSD to save it for later use.
Here’s what you need to do:
- Open the USB drive enclosure and place the SSD chip, facing upwards and then slide it back in and tighten the screws to ensure it isn’t displaced.
- Open the data transfer software that you have downloaded and installed on your laptop. Run the software and follow the on-screen instructions.
- Connect the USB cable to the USB drive enclosure and connect it to the laptop. Give some time for the laptop to recognize the connected devices. Once it does, launch the data transfer software and wait till the data is transferred successfully.
How to Replace Hard Drive with SSD?
Following are the steps you need to follow:
- Buy the right SSD drive
The first step to replacing the hard drive with SSD in your laptop is to ensure that you buy the right SSD drive for the device. Considering the amount of storage is the first marker. If you have 512GB hard drive space now and it is falling short, switch to a larger storage SSD drive.
Also, when choosing the SSD drive, you need to be cautious about the type of SSD you are buying. Generally, the 2.5 inch SATA drive is considered the standard. Besides that, there are NAND technology and SATA III.
- Invest in a SATA to USB cable
This cable is necessary to clone the data from your hard drive to the SSD drive. The steps have been sorted out in the section above that you can follow along.
Once you are done cloning the hard drive, which is possibly the hardest part of the entire procedure, the last step is to install the SSD driver after taking out the hard drive.
Be assured that the cloning process can take some time, which means that you need to be patient and not be reckless. Any kinds of interruptions in between can affect and hinder the entire process, something that you don’t want to do. When the cloning process starts, leave your laptop alone and avoid working on it.
Depending on how much data you have stored, the cloning process can take minutes or sometimes even hours. So, if your laptop doesn’t have a long battery life, we’d recommend keeping it plugged into the power source so it doesn’t end up switching off in the middle of the cloning process.
- Install the SSD drive
Once the cloning process is done successfully, the last step is to finally install the SSD drive to your laptop. You do need to have a basic understanding of the structure of the laptop for this part. In case you don’t, get it done by someone professional.
Here’s what you need to do:
- Start by unplugging the SATA to USB cable from the SSD drive
- Next, unplug the laptop from any connected power source and remove the battery if it is detachable and not in-built.
- Once that is sorted, you then need to move ahead and open up the screws on the underside of the laptop and open the back case to access the internals of the laptop.
- Once the case is open and you have a good view of the inside, unscrew the mounting bracket on top of the hard drive to get and remove it from the spot.
- Once you have removed the hard drive, you need to take the SSD drive and place it under the mounting bracket, and slide and fix the connectors to ensure everything is back in place.
- With that sorted, you need to again fix back the case on the underside of the laptop and screw it back in. Ensure that nothing is left behind.
- Affix the battery again and then switch on the laptop.
Once the laptop boots up, you need to install the drive management program depending on which kind of SSD drive you have plugged into your laptop. This software keeps the drive up to date and sends updates and other firmware upgrades to keep it functioning optimally. So, make sure you sort this out without failure.

We hope this article gives you all the insights that you need to know about fixing up your laptop and upgrading the hard drive to SSD for faster performance and boot up.
Contents
