If you have an Acer Laptop and you are looking to take a screenshot then you are at the right place. In this article, we will be talking about all the ways users can try to take a screenshot on their Acer Laptop. Since all laptops have different keys to take a screenshot it is important to understand that this process might not work on Laptops of other manufacturers. Users can easily take a screenshot on an Acer laptop simply using the keyboard with help of pre-installed software. If your Acer laptop is running on Microsoft Windows operating system then you have multiple options when it comes to taking a screenshot.
Taking a screenshot using the Print Screen method in Windows 7
It is important to know how to take a screenshot in today’s day and age because it surely comes in handy. This method is probably the fastest and easiest of all the other ways. The only drawback with this method is that it is not the most flexible when it comes to editing the screenshot. This method will run on all Acer Laptops which are running on Microsoft Windows 7 operating system. Here is the list of steps that you need to follow to take a screenshot.
- The first thing you need to do is open the page that you are looking to take a screenshot of. Make sure all the contents you want to take the screenshot are all visible on the screen.
- Look for the PrintScreen key which is labeled as PrtSc on the keyboard and simply click on it.
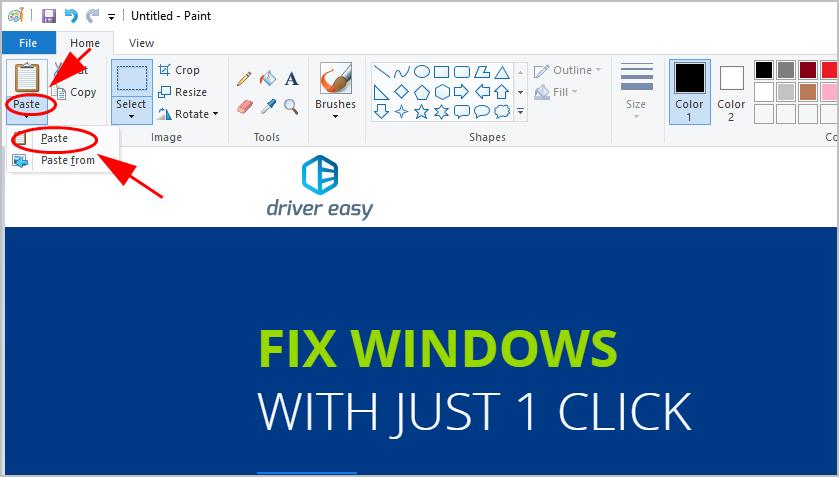
- Once it is done go to apps like Microsoft Word or Paint and simply paste the screenshot there. Users will be able to paste the screenshot simply by Ctrl+V. Users can also right-click with the mouse and click on Paste.
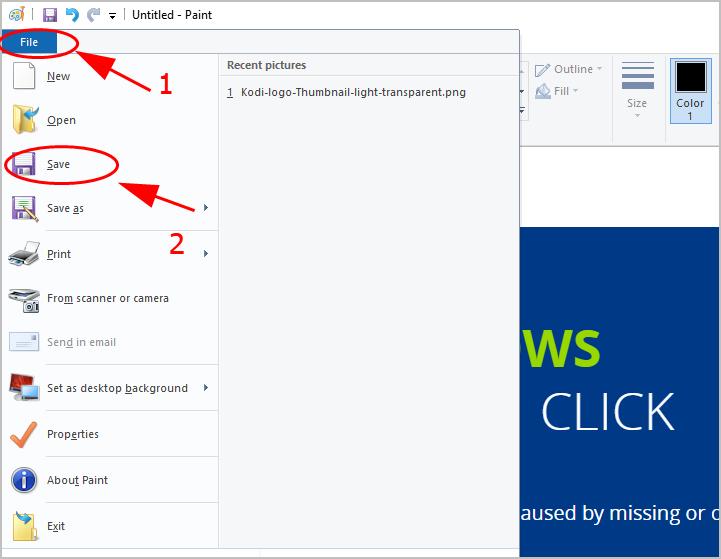
- All users need to do is save the screenshot under the name they want and they are good to go. Make sure to save the image in jpg format when you will be saving it in Paint.
Taking a screenshot using the Print Screen method in Windows 8 or 10
The process of taking a screenshot in Windows 8 and 10 is quite similar and here we will be talking about all the steps that users need to follow. The screenshot-taking process in Acer laptops running in Windows 8 and above is quite simple and short. The screenshot procedure has been upgraded quite drastically in Windows 8 and 10 and this is why it has become so convenient. With Windows 8 and 10 users will be able to simply take screenshots by clicking a few buttons on the keyboard without any kind of external application.
- Users will need to open the page that they want to take the screenshot of. It is important to make sure that all the content is visible on the page properly before taking the screenshot.
- Users will have to locate the PrintScreen key which is labeled as PertSc and the Windows key. Users will have to hold both the keys simultaneously to take the screenshot.
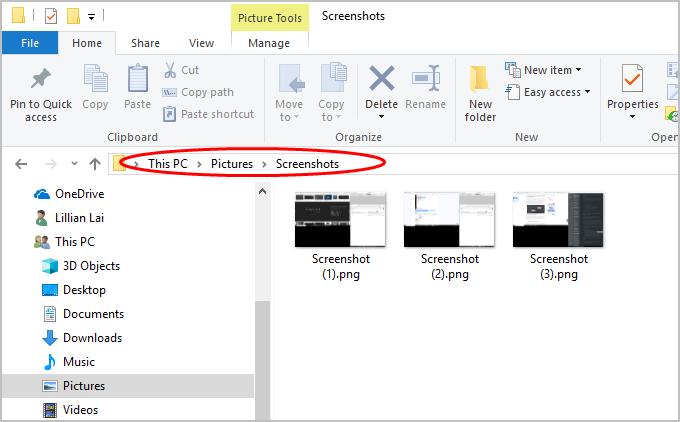
- Once the buttons are pressed simultaneously the screenshot will automatically be saved to the Pictures library on the Acer laptop.
Taking a screenshot using the Snip and Sketch tool
This is a process where users will be able to edit their screenshots in a better manner. Most of the people who work with screenshots generally use this way because it gives users a lot of liberty to edit. Here we have listed down all the steps which users need to follow to take a screenshot with the Snip & Sketch tool. Since this is an external application user might not always have it on their computer so it can be easily downloaded on the internet.
- Go to the search application option on your Acer laptop and search for the phrase ‘snip’. The search bar is available at the bottom of the home screen.
- Open the Snip & Sketch app by clicking on it.
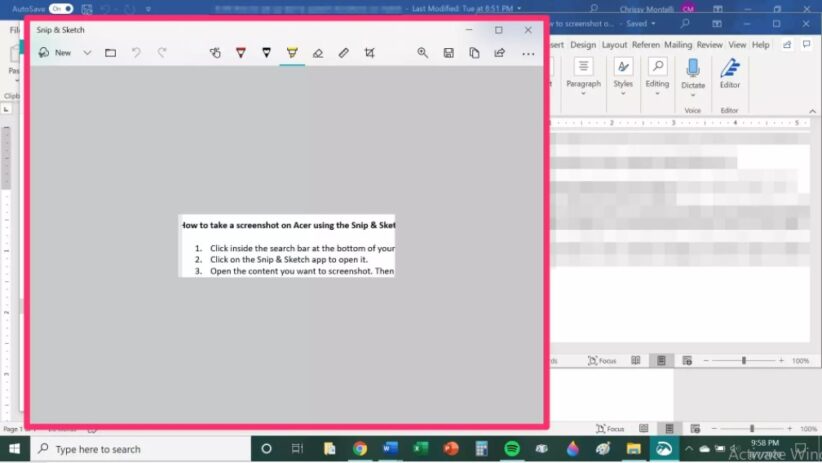
- In the next step, users will have to open the content they want to screenshot and then switch back to the Snip & Sketch window. In the app click on New. Click and drag the shape of the screenshot as needed. Once users lift their fingers from the mouse the screenshot will be visible in the Snip & Sketch tool window. This will help users edit the screenshot according to their wishes.
Taking a screenshot using a robust screen recorder
Screen recording is also a perfect and efficient way of taking a screenshot on an Acer Laptop. If users are willing to record their screen and take a screenshot then they will have to follow all the steps mentioned below. There are multiple screen recording applications available in the market to download. This might take up a bit more space than a screenshot image.
- Open the screen recorder and start the recording process by switching it on.
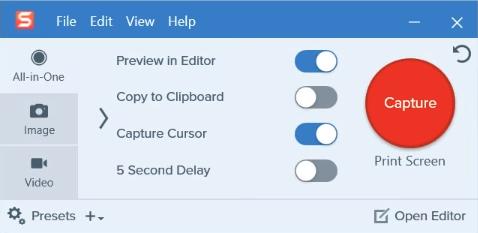
- Users will then have to minimize the application and open the screen they want to take a screenshot of.
- Keep the screen on for a few seconds and then open the recorder application and switch off the recording.

- Now open the video and edit the video into a single frame and save the file in jpg format to be able to get the screenshot. Users will be able to save the screenshot whenever they want to.
Taking a scrolling screenshot
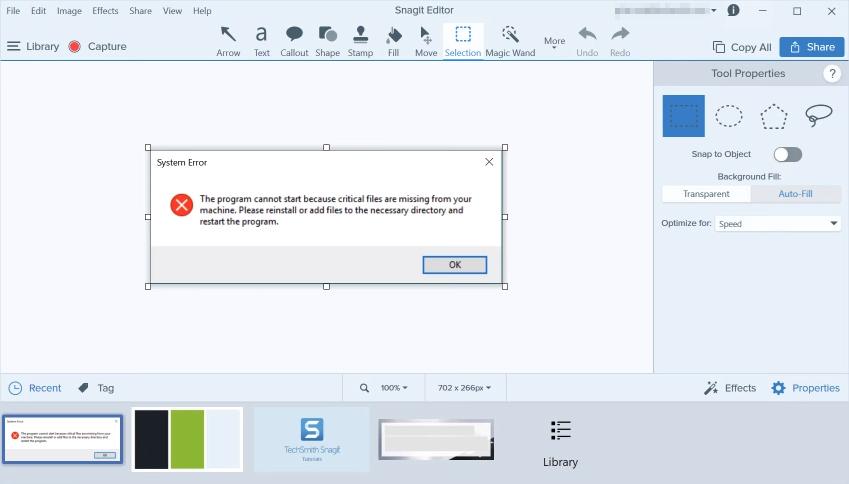
Scrolling screenshot is a new concept when it comes to Acer laptops. Most of the laptop manufacturers still do not have this feature till now. Since this is quite exclusive we have listed down all the steps that users will need to follow to take the scrolling screenshot.
- The first thing that users need to do is press and holds the Ctrl and Alt button together and then clicks on the button PrtSc.
- Once the screenshot is activated users will need to press and hold the mouse left click button.
- Users will then need to drag the mouse on the scrolling window and select the area they want to screenshot.
- Users can simply release the mouse click once they are done with the screenshot. You can also activate the auto-scroll option with this process.
In today’s day and age, everything in the world moves quite fast. Taking screenshots of things has become quite important nowadays. If you are thinking of taking a screenshot on an Acer laptop the process is quite simple. These screenshots will surely help users to keep records and it is important to learn multiple ways to take screenshots. The screenshot procedure is dependent on the operating system users are using.
Final Thoughts
Acer laptops are quite functional and it has made it quite easy for users to capture the screen. Taking a screenshot in an Acer laptop is one of the easiest tasks out there. In this article, we have discussed how users can simply take screenshots. There are multiple ways users can try out while taking a screenshot. If you are looking to take multiple screenshots in just one window then the external application method like the snipping tool method is the most suited. The windows method will only be able to save one screenshot at one time.
Contents
