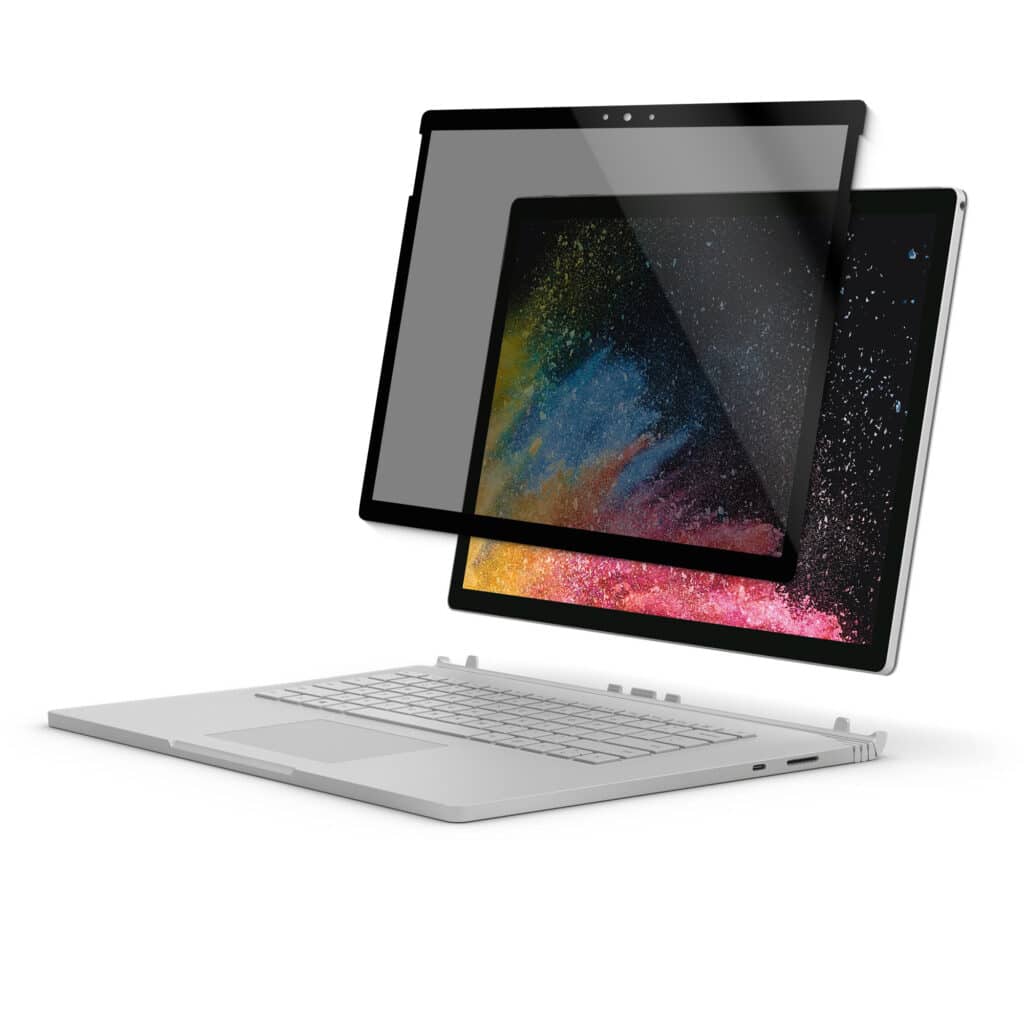
Much like your smartphone that needs an extra layer of glass protection for your display, the same goes out for your laptop. You’d be surprised to realize that much like phones; several people have a habit of dropping their laptops too. If you are one of them, chances are that you have either planned or have already attached a good quality screen protector on the display of the laptop screen. This is to ensure the longevity of the laptop screen and prevent risks of scratches and damage.
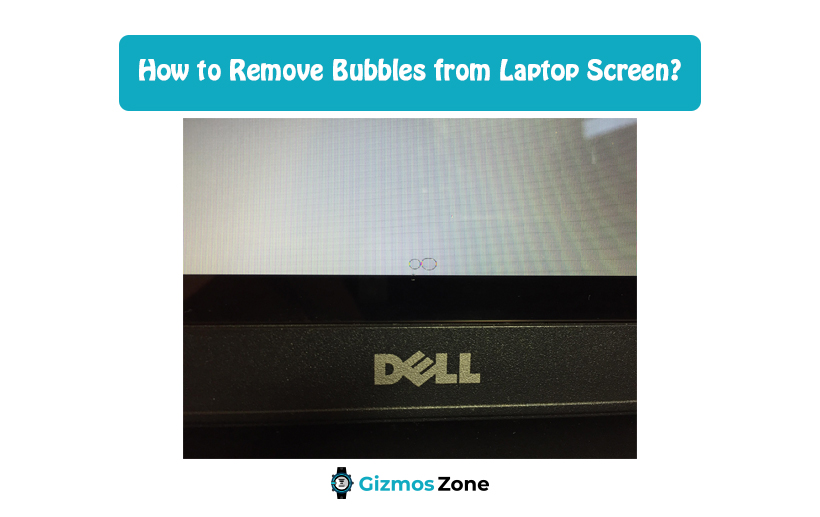
However, one of the most common issues with applying a screen protector is to be left with bubbles on the screen. Not only are they tedious to get rid of, but they also make your display hazy in parts when the bubbles are stuck.
But, just because you have accidentally created bubbles inside the laptop screen while applying the screen protector doesn’t mean that you can’t get rid of it for good.
In this article, we will be discussing everything related to screen protectors and how you can get rid of the bubbles around them.
Avoid using Plastic Screen Protectors
The first and likely the easiest way to avoid bubbles is by not using the staple plastic screen protectors. They are tedious and more prone to these air bubbles. Since they have a very flimsy hold to them, it isn’t surprising that the air bubbles get inside them very easy and getting rid of them is even harder.

If the air bubbles in the plastic screen protectors for laptops are very high, we’d recommend getting rid of it altogether and starting new. Also, another way to reduce the chances of air bubbles is by using the smoothening tool that often comes with these laptop screen protectors. They can smooth out the application process and reduce the air bubbles on the screen.
How to get rid of air bubbles from the laptop screen?
When it comes to getting rid of the air bubble, there are a few tricks up the sleeve that can work pretty well. However, keep in mind that these methods are more effective for tempered glass screen protectors and won’t work the best with plastic protectors.
Here’s what you can do:
Use a debit or credit card
Remember the smoothening tool we were talking about? Well, not every screen protector comes with this tool in the package. So, your best bet is to make do with things that you have. Using a debit or credit card is likely your best option in that case.
Here’s what you need to do:
- Start by using a sharp edge of the credit or debit card to lift the screen protector from one edge of the screen.
- Once you have lifted the protector from the side, it becomes easier for you to remove the entire glass protector and reapply it again on the laptop screen.
- Make sure that you don’t bend the screen protector down the middle because that will end up causing chaos and you’d most likely have to throw it out altogether.
Use a lint-free cloth
Prepping the laptop screen before applying the screen protector is crucial. If you apply it directly onto a screen that has dirt and dust on it, it will not just affect the visibility, it won’t look good as well.

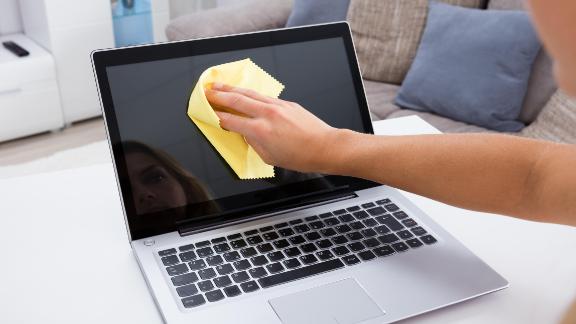
While prepping, you need to ensure that you use some sort of alcohol or another adhesive agent to get rid of the dirt and clean the laptop screen to apply the screen protector. Generally, while cleaning the screen, ensure that you use a lint-free cloth because that ensures superior cleaning as well.
Sometimes, using non-reusable cleaning wipes can do the job too. They are easy to use and come with a cleaning solution that is mild and won’t affect the screen quality.
Use oil
As weird as it sounds, using oil is effective in removing the air bubbles from the edges of the screen protector. Any kind of olive or vegetable oil can be used for the cleaning process and for getting rid of the excess problems from the sides.
All you have to do is follow the steps below:
- Take 1 tsp of oil into a small dish and wet the edge of a cotton swab on it
- Once you have the oil settled, use it to gently rub along the seams of the screen protector to get rid of the bubbles from the underside.
- One quick tip is to ensure that you take a little amount of oil onto the swab and don’t overdo it.
When using any of the methods for the cleaning or to get rid of the air bubbles from under the screen protector, make sure that you aren’t being too harsh on the display. The last thing you want to do is damage the display or the pixels.
FAQs
Is the tempered glass protector a better choice?
Yes, most definitely. Not only are they made of a better quality material that offers more protection, but they are also a lot easier to apply, especially when it comes to having a smoother application without any air bubbles inside.
Will the air bubbles on the laptop screen go away on their own?
Unfortunately, they won’t. This is mainly because the air bubbles tend to stick around and are very stubborn air pockets. So, you have to either reapply or use a new protector.
Should I get the laptop screen protector applied by a professional?
Yes, we’d recommend that you get a professional’s help with the application process. But, that isn’t mandatory. Just be slow and careful with the application process and prevent getting rough with the screen and you are good to go.
Conclusion
Getting rid of the air bubbles from under the screen protector on a laptop screen is not as complicated as it seems. All you have to do is be careful, follow the right application process and make sure that you use any of the tips above if you mess up.
Contents
